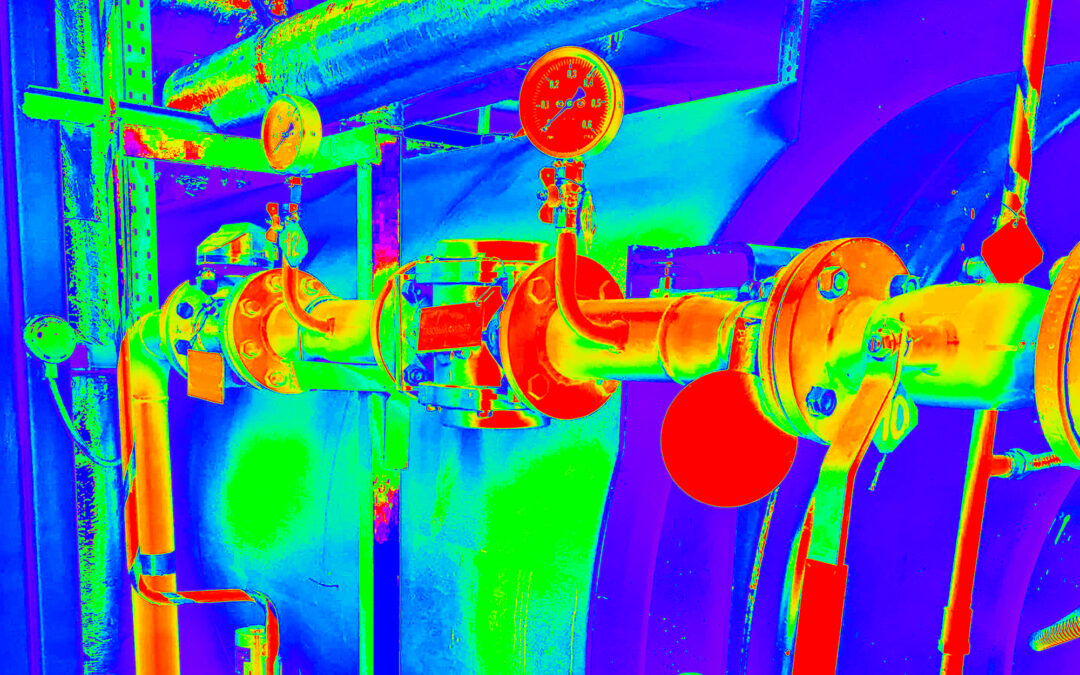
Non-contact thermometry provides a means for rapidly measuring object temperatures. To ensure measurement accuracy, all error sources must be considered and properly addressed. This article discusses how to measure and compensate for Reflected Temperature using the Reflector Method and the Direct Method.
Unlike contact thermometry, infrared temperature measurement is subject to several error sources. While many RAM professionals may be familiar with emissivity, another common error source is reflectivity. To compensate for errors due to reflections, imaging and non-imaging radiometers have inputs for entering Reflected Temperature. Depending upon the make and model of the instrument, this control may be referred to as TAM, Ambient Temp, Background, or Reflected Temperature.
Since all real-world objects have emittance values of less than 1.0, some infrared energy will always be reflected from a measured object’s surface. The Reflected Temperature feature found on imaging radiometers, i.e., thermal or infrared imagers, will mathematically compensate for this error source provided that it has been properly set by the operator.
REGARDING THE REFLECTOR METHOD
Listed below are the general steps for measuring and compensating for Reflected Temperature using an imaging radiometer and a diffuse infrared reflector. A diffuse reflector can be made from a crumpled and re-flattened sheet of aluminum foil that has been wrapped around a piece of cardboard.
-
- Place imager at desired location and distance from object to be measured.
- Aim and focus imager.
- Place diffuse reflector in front of, and in same plane as, object’s surface.
- With imager’s E control set to 1.0, measure apparent temperature of diffuse reflector.
- Conduct procedure three times and average results.
- Enter averaged value into radiometer’s Reflected Temperature input.
REGARDING THE DIRECT METHOD
Listed below are the general steps for measuring and compensating for Reflected Temperature with the Direct Method.
-
- Place imager at desired location and distance from object to be measured.
- Aim and focus imager.
- Estimate angle of incidence and angle of reflection.
- Position imager pointing away from target & parallel to angle of reflection.
- With imager focused and its E control set to 1.0, measure the average apparent
temperature of scene using either area measurement or isotherm feature. - Conduct procedure three times and average results.
- Enter averaged value into radiometer’s Reflected Temperature input.
IMPORTANT CAVEATS
When measuring Reflected Temperature, make certain to maintain a safe distance from any hot or energized targets and observe all necessary safety precautions. When entering Reflected Temperature into your device, be sure to access the proper menu as some imagers have inputs for Reflected Temperature as well as ambient air temperature.
The above methods and procedures (“Reflector” and “Direct”) are described in greater detail in the Standard for Measuring and Compensating for Reflected Temperature Using Infrared Imaging Radiometers. For more information on infrared standards or thermographer training, call 609-239-4788 or visit infraspection.com.TRR
EDITOR’S NOTE:
This Article Is Based On
The Feb. 8 and Feb, 15, 2021, “Tips of the Week”
On The IRINFO.org Website.
CLICK HERE TO ACCESS THE 2021 ARCHIVE
ABOUT THE AUTHOR
Jim Seffrin, CMRP, has been an Infraspection Institute Certified Infrared Thermographer since 1984. A co-founder of Jersey Infrared Consultants and a practicing thermographer with 35+ years of experience as an infrared consultant, he was appointed Director of Infraspection Institute in April 2000. For information on a wide range of topics related to infrared thermography and associated training and certification, visit IRINFO.org and/or infraspection.com, or email jim@infraspection.com.
Tags: reliability, availability, maintenance, RAM, infrared thermography, IR thermography, infrared cameras, thermographic imagers, imaging radiometers, infrared inspections, non-contact thermometry, infrared temperature measurement
.


